Table of contents
|
|
|
If you are trying to recover data from a removable media, you need to have the media in the drive before running PHOTORECOVERY®. Before running the program, make sure that you have administrator privileges. On PC, you may need to right click the program icon and Run As Administrator. On Mac, you will need to make sure your account has full Administrator privileges.
If you are recovering from a mobile device, such as a smart phone or a personal music device, make sure that it is connected and showing as a removable disk device before you run PHOTORECOVERY®.
Make sure that there is a disk in your system, or connected to your system, that has enough space to save the recovered data found during the recovery. If you need to add additional storage space to the system, make sure to do this before you run PHOTORECOVERY®.
Please turn off all unnecessary applications and peripherals on the system, and disable all power saving settings before you run PHOTORECOVERY®. If you are on a laptop or other portable computer, make sure you have enough battery life to complete the operation. Connect to AC power if necessary to avoid interruptions in the recovery process.
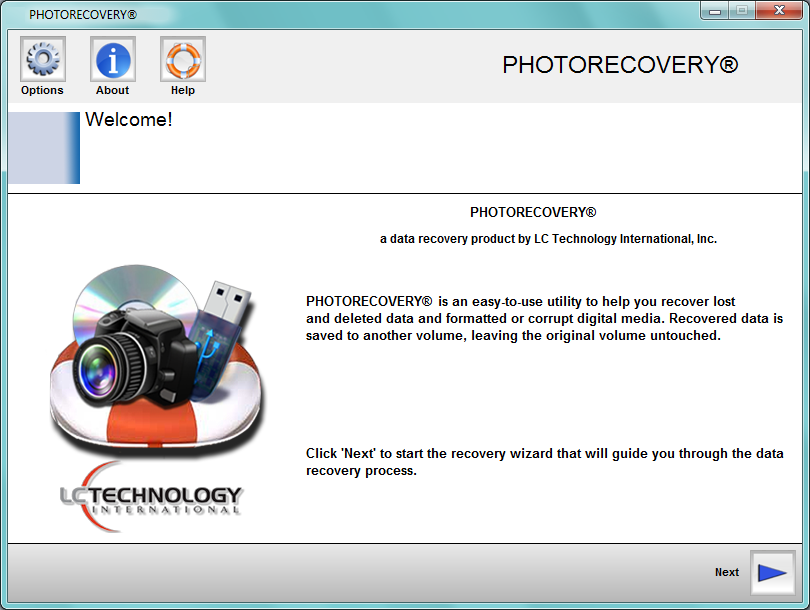
The wizard-driven interface of PHOTORECOVERY® makes data recovery easy even for novice computer users. From the start, the interface will help you choose each step in the recovery process. Once you have selected your options, you are given an opportunity to change them before starting the recovery scanning process. Below, we will describe each interface screen in detail.
When you first start PHOTORECOVERY®, you click Continue, and the interface will help you choose each step in the recovery process.
Choosing your type of data and the manufacturer: The first step in the recovery process is choosing the type of data that you are trying to recover and the manufacturer of the device that created the data you are trying to recover.
In the case where you cannot find the manufacturer of the device, or you are not sure, you can choose 'Other' as the manufacturer and the file type search will be much wider in scope.
Selecting the media that you are recovering from: The next step in the recovery process is choosing the media that you are trying to recover data from. PHOTORECOVERY® will show you both physical and logical devices. Sometimes a device will be corrupted and not show a format, and you will need to choose the physical device in order to recover.
To load a backup image file instead of a digital media device, simply click the Open Media Image File icon and choose the backup image file to load. You can also save a backup image file of a disk by clicking the Save Media Image File button.
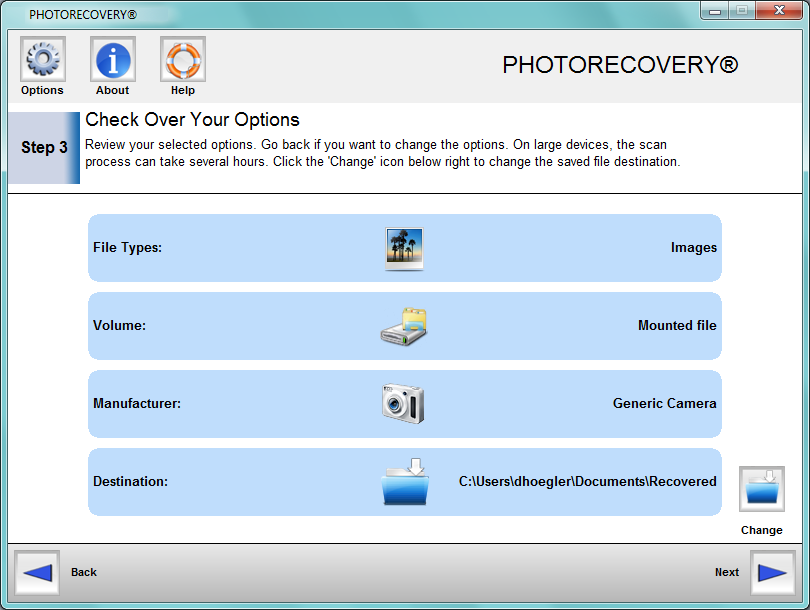
Reviewing your options : Once you have selected all of your options, and are ready to begin, you can review your options to be certain.
You can also change the destination for the recovered data at this point. This will be the location that the data is automatically saved as it is being scanned.
Once you are sure the options are correct, click 'Next' to begin scanning.
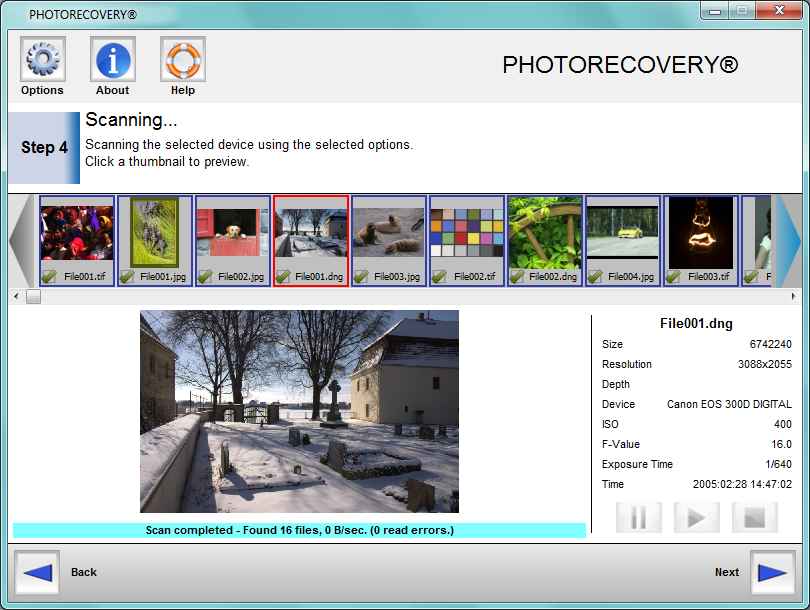
During the scanning process: During the scanning process, thumbnails of images will scroll across the top of the preview area. Other file types will only display an icon. While the scan is running, you can click on a thumbnail of an image to preview it. The file information that can be found in the metadata will be displayed to the right of the preview.
If you wish to Stop, Pause, and Resume the scan, you can use the control buttons at the lower right. If you stop the scan, you will not be able to restart it, you will have to start over at the beginning again.
Saving Your Files: When the scan is finished, the data that was found will be automatically saved in the preselected destination folder. During the save, you will be able to see the progress of the save operation. If necessary, you can also stop the save. Once you stop the save, you cannot restart it, you will have to start over at the beginning again.
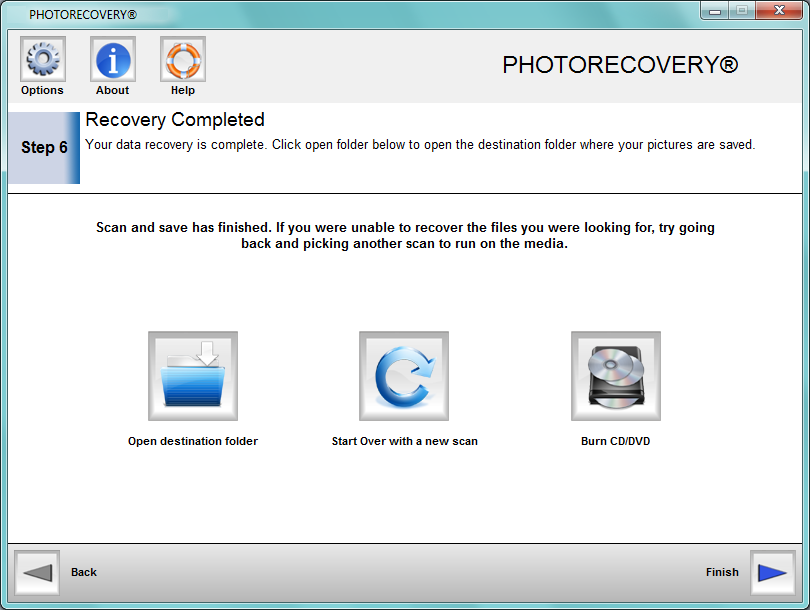
Completing the recovery: When the saving is complete, you will be given three options. If you choose to open the destination folder, you can then copy or move the recovered data to a permanent location.
If you choose to start a new scan, you will be returned to step 1 and you can begin a new scan on the same media or different media. The current recovery will not be overwritten by the new scan.
You can also burn the recovered data to CD/DVD. In some PC systems, you will need to install an operating system update for the CD/DVD burning option to work. The system will prompt you in the case it is needed.
Below the program title there is the menu bar. Here are detailed descriptions of each menu and tool bar item.
Options: Clicking on this button will give you the option to change the program language and also create a debug log.
About: Clicking on this button will show you information about the program, the copyrights, and legal notices.
Help: Clicking on this button will load this help file into your default browser.
Activation: Clicking on this button will take you through the activation process to make your DEMO into a FULL version. Instructions on how to activate your software can be found here.
Create Image File: This option is for creating a backup image of the media you are trying to recover. This can be useful when a media device is failing, and a recovery needs to happen. Or the drive needs to be returned to service, but the recovery is not yet done. To make an image file, you choose your media and click the create image file icon. Choose a location that has enough disk space to save the file, and save.
Load Image File: This option is for loading the backup image of the drive you created with the Create Image File option. This can also be used to load image files made by other software so that you can try and recover data from these images as well. To load an image file, you click the load image file button and navigate to the location where you have your image file saved from the create step, and choose open.
Back to Top
PHOTORECOVERY®
is a registered trademark of LC Technology International, Inc
Microsoft
and Windows are trademarks of Microsoft Corporation. All other trademarks are
the property of their respective owners.
 Before you start